


OPEN DAILY May through October.
SUMMER/FALL hours 10:00 AM - 5:00 PM
WINTER/SPRING
November through April.
CLOSED MONDAYS; OPEN Tuesday- Sunday
10:00 AM - 5:00 PM
HOLIDAYS: Closed Thanksgiving Day, December 25th, January 1st.
ADMISSIONS:
Adult: $7 For New Mexico Residents, $12 for Non-Residents;
16 & Under and Museum Members always FREE
For other special rates visit our Hours and Admission!
NM Families visit free with a Public Libraries family pass, contact your local library!
We look forward to your visit. See you soon!

Folk Art Flea Spring Donation Days
Benefit the Museum of International Folk Art

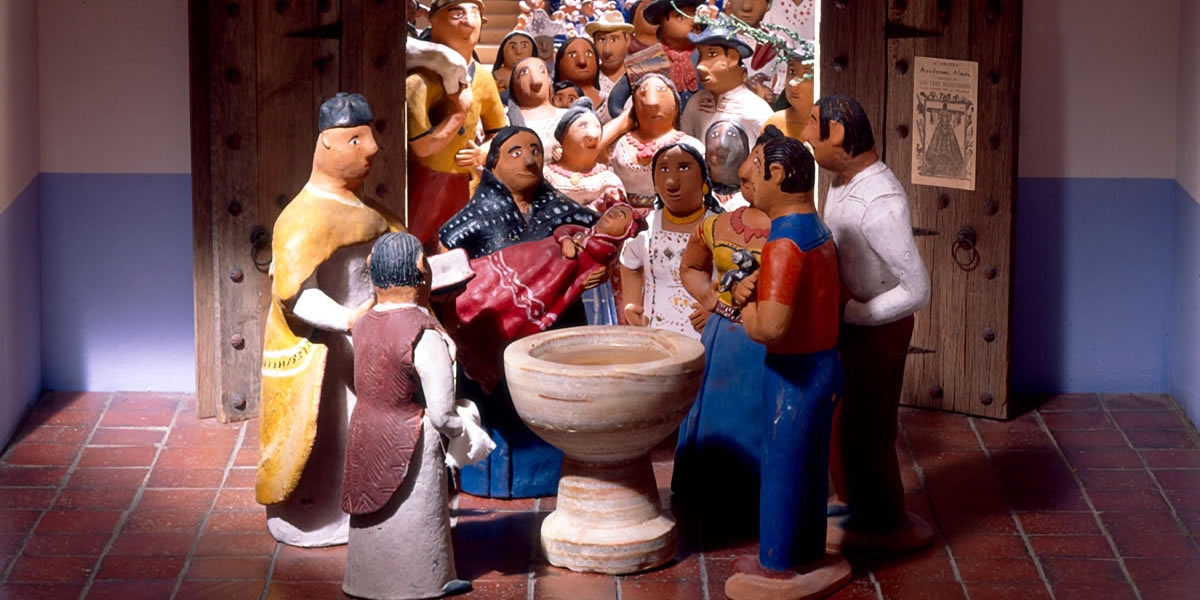
The museum's holdings represent diverse cultures and constitute the largest collection of international folk art in the world. The core collection, donated by museum founder Florence Dibell Bartlett, from 34 countries has grown to over 130,000 objects from more than 100 countries. Explore our collections and Please Explore Our Online Museum Experiences!